Steps to Change Collections Using Bulk Editor
Step 1: Go to Collections
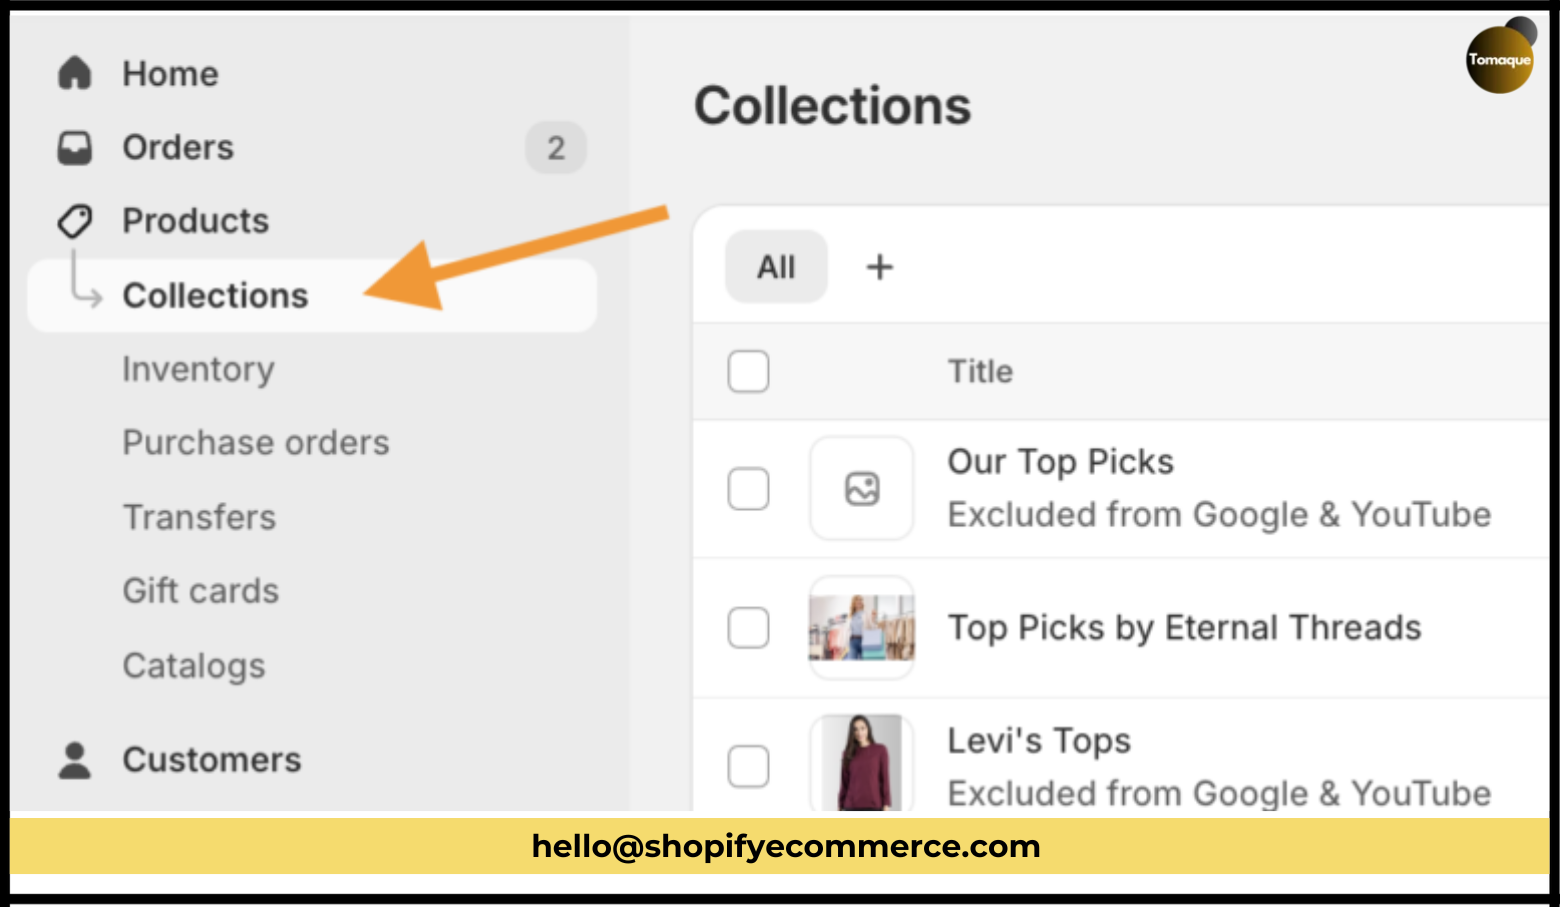
First, open your Shopify admin. Click on “Products,” and then choose “Collections.”
Step 2: Pick the Collections You Want to Change
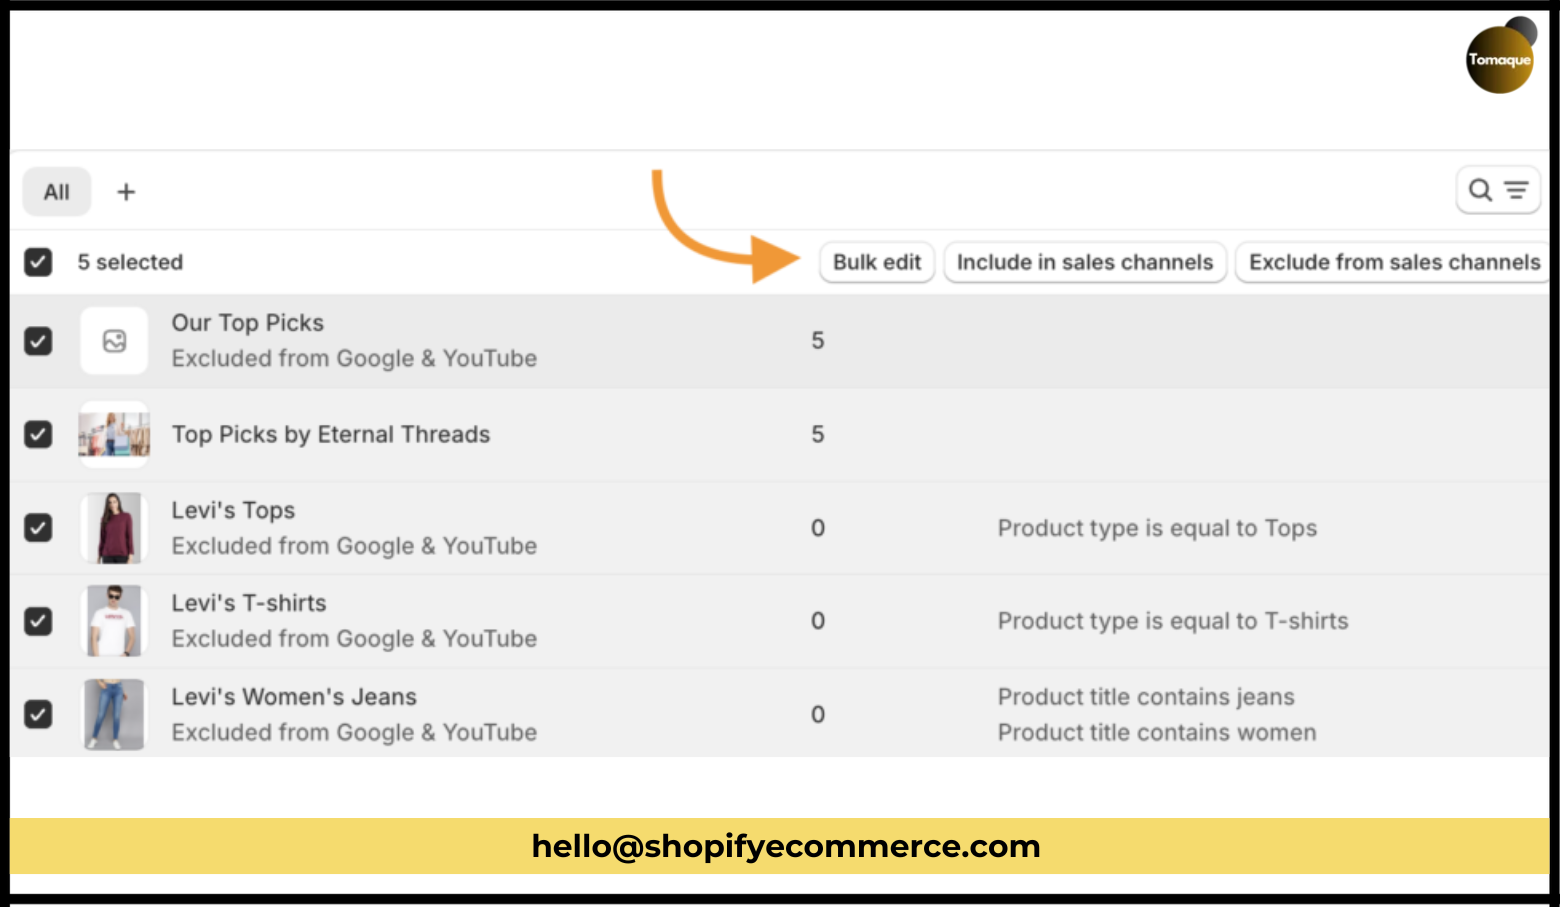
Look at the list of collections. Check the boxes next to the collections you want to change. After that, click the “Bulk edit” button.
Step 3: Change Details and Save
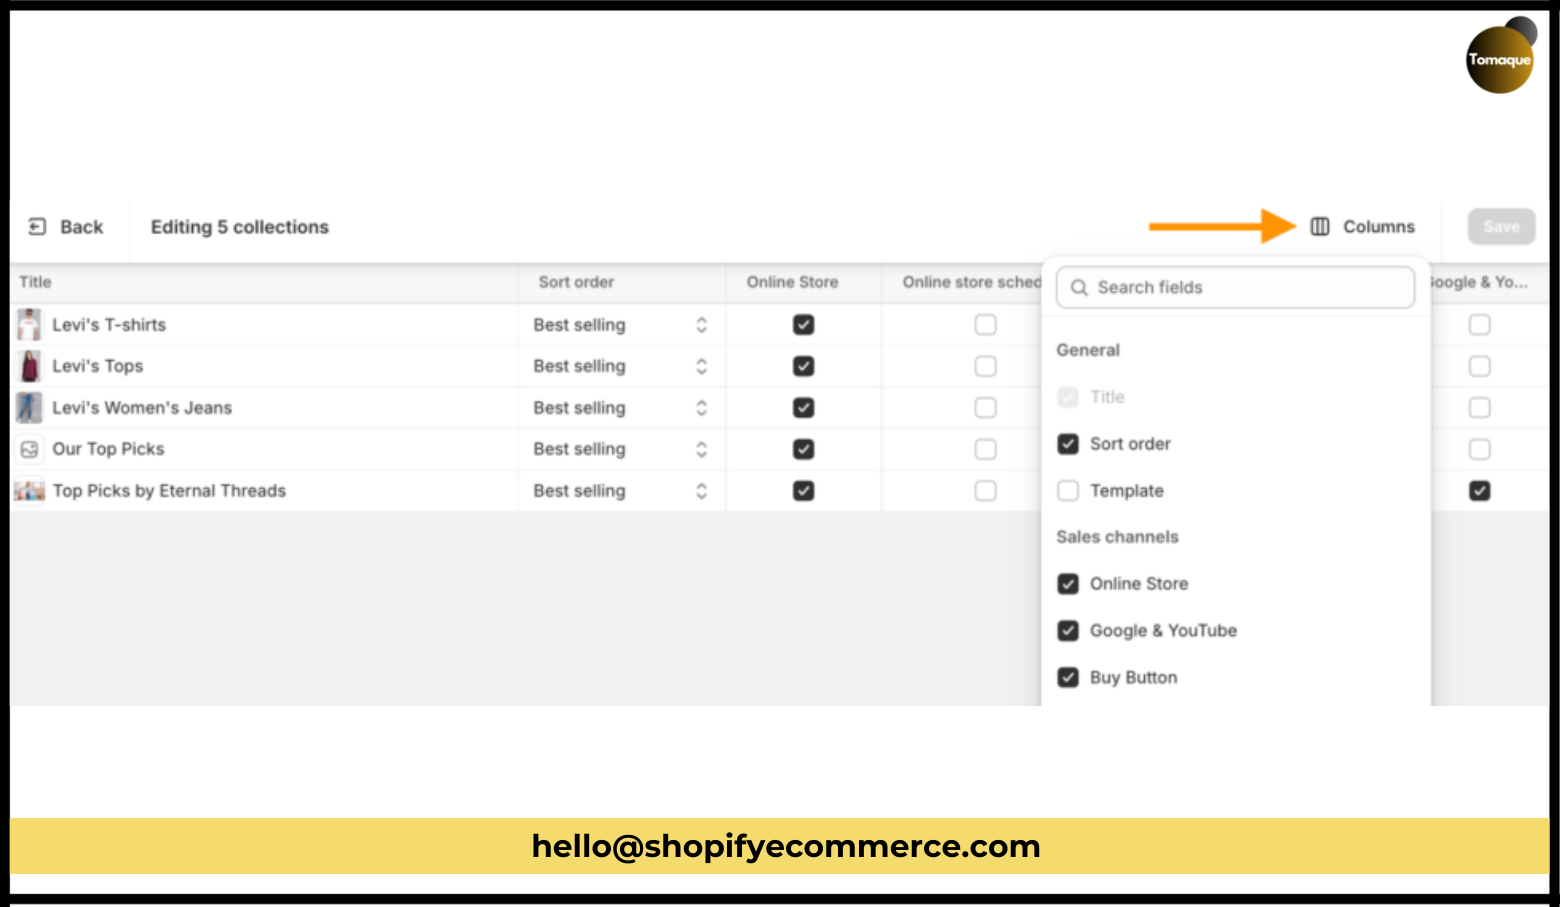

You will see a list of collections with some details. If you want to see more things to change, click on “Columns” at the top right. Change what you need and then click the “Save” button.
What Can You Change in Your Collections?
You can change many things in your collections, like:
- How they are sorted and what templates they use
- Which sales channels they are on
- Whether a buy button shows for a collection
- SEO details like product descriptions, titles, and URLs
- Add special tags and other options
Bonus: Update Collections Using a CSV File
If you are moving to a new Shopify store, you can also update your collections using a CSV file.
Shopify doesn’t let you easily export or import collections by itself. But you can use a special app to help with this.
Here’s how to do it with a CSV file:
Step 1: Export Collections as CSV
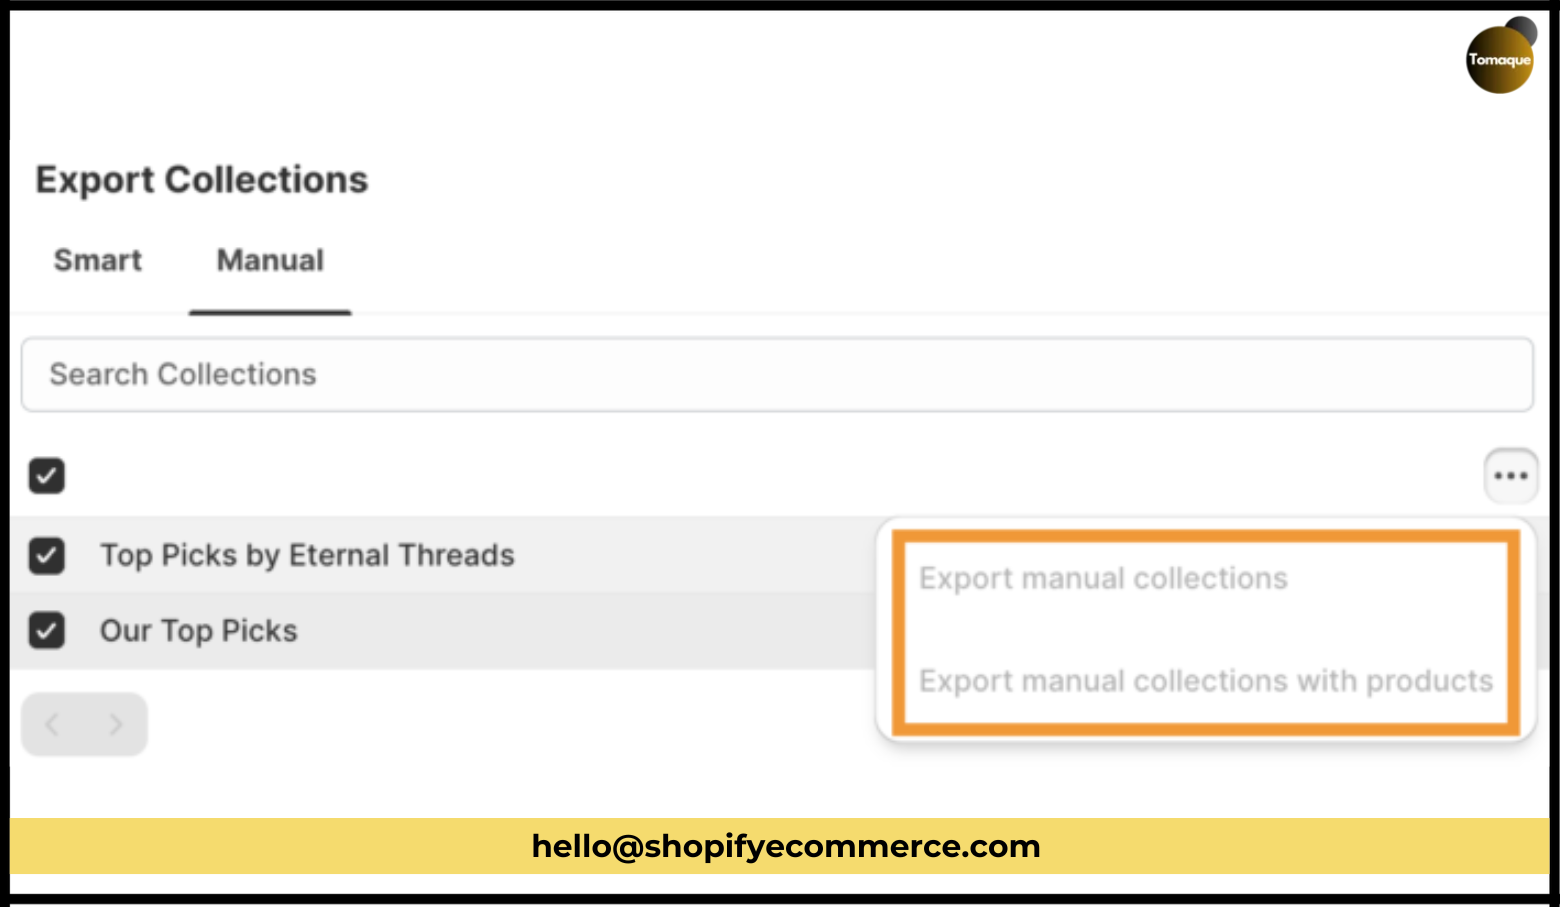
Choose the collections you want to export. Click “Actions,” then “Export.” You can export them with or without their products. The file will be saved in your downloads.
Step 2: Edit the File
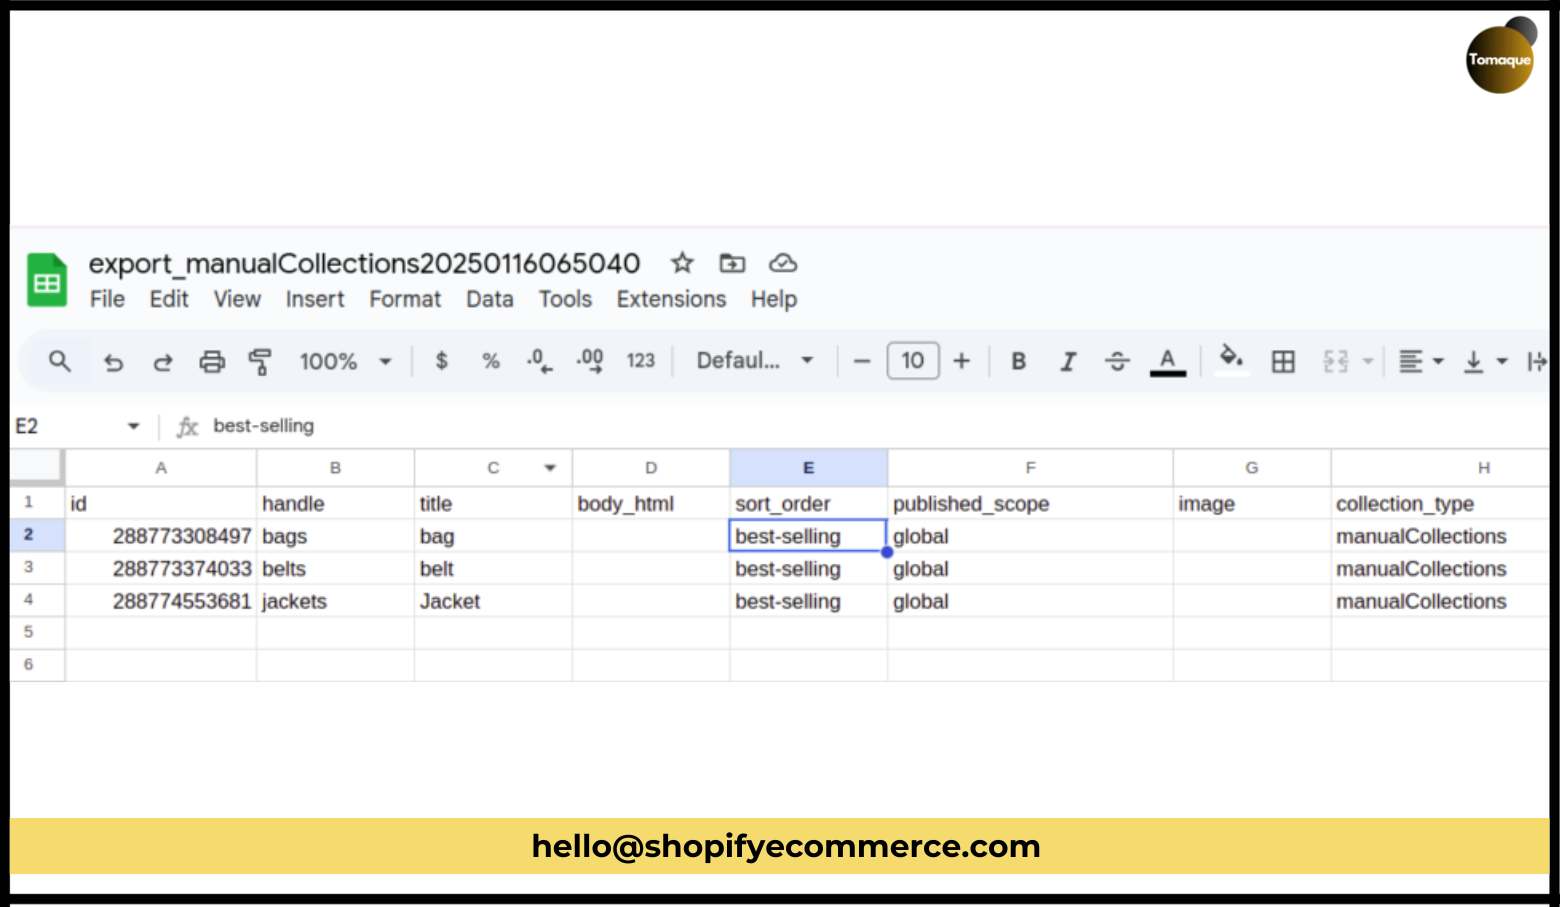
Open the CSV file in a spreadsheet program. Make any changes you need, then save it again as a CSV file.
Step 3: Import the CSV into Your Store
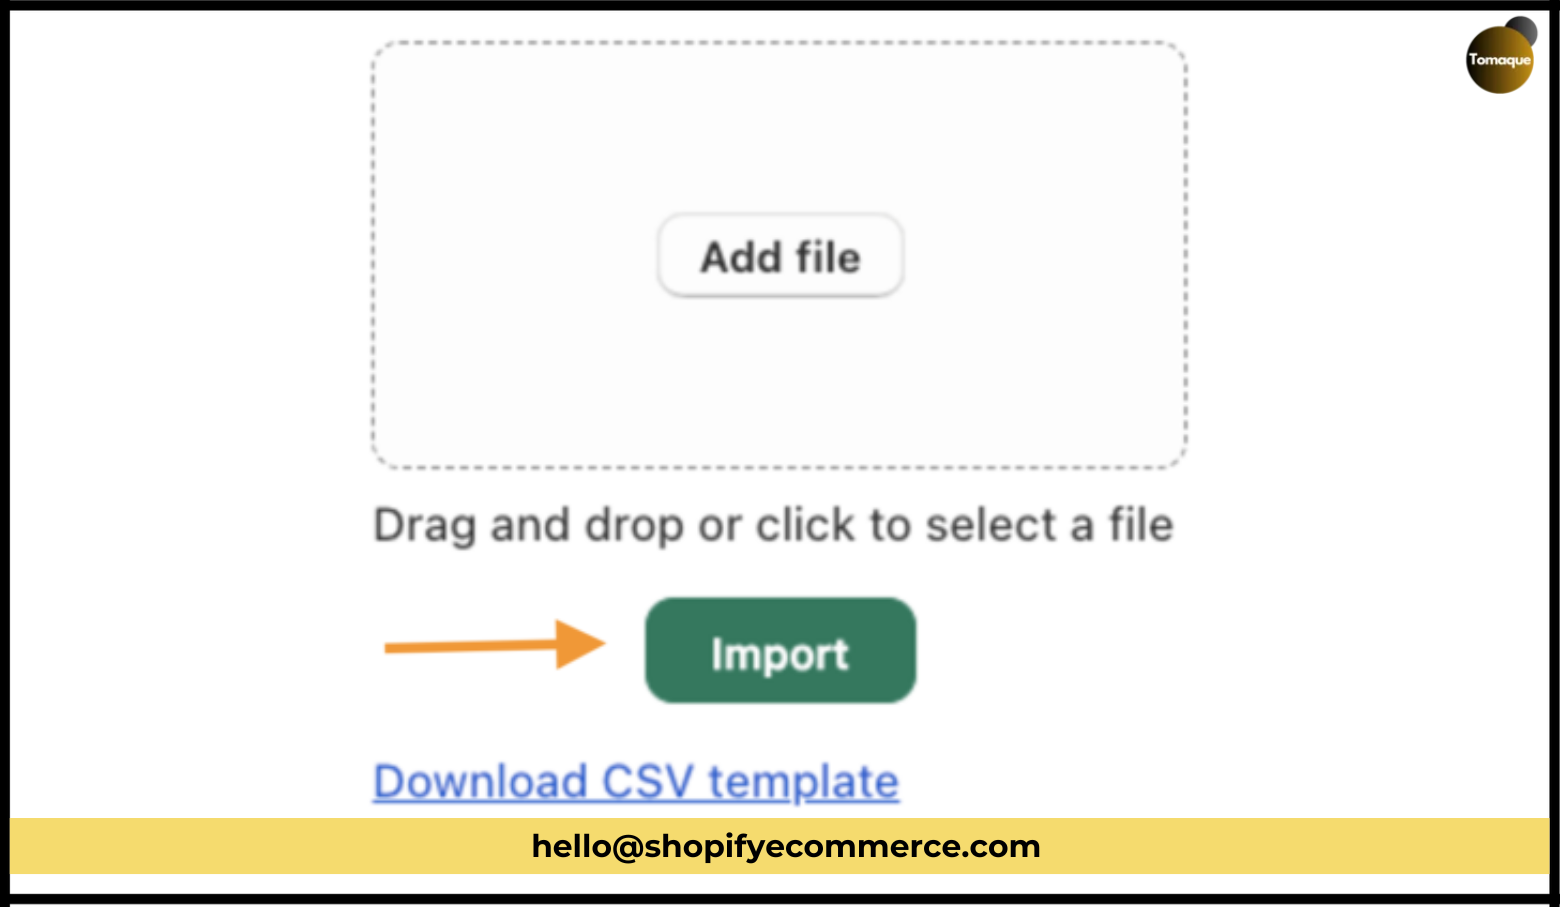
Upload your edited CSV file back into your new Shopify store by dragging and dropping it or choosing it from your files. Click “Import” when you’re ready.
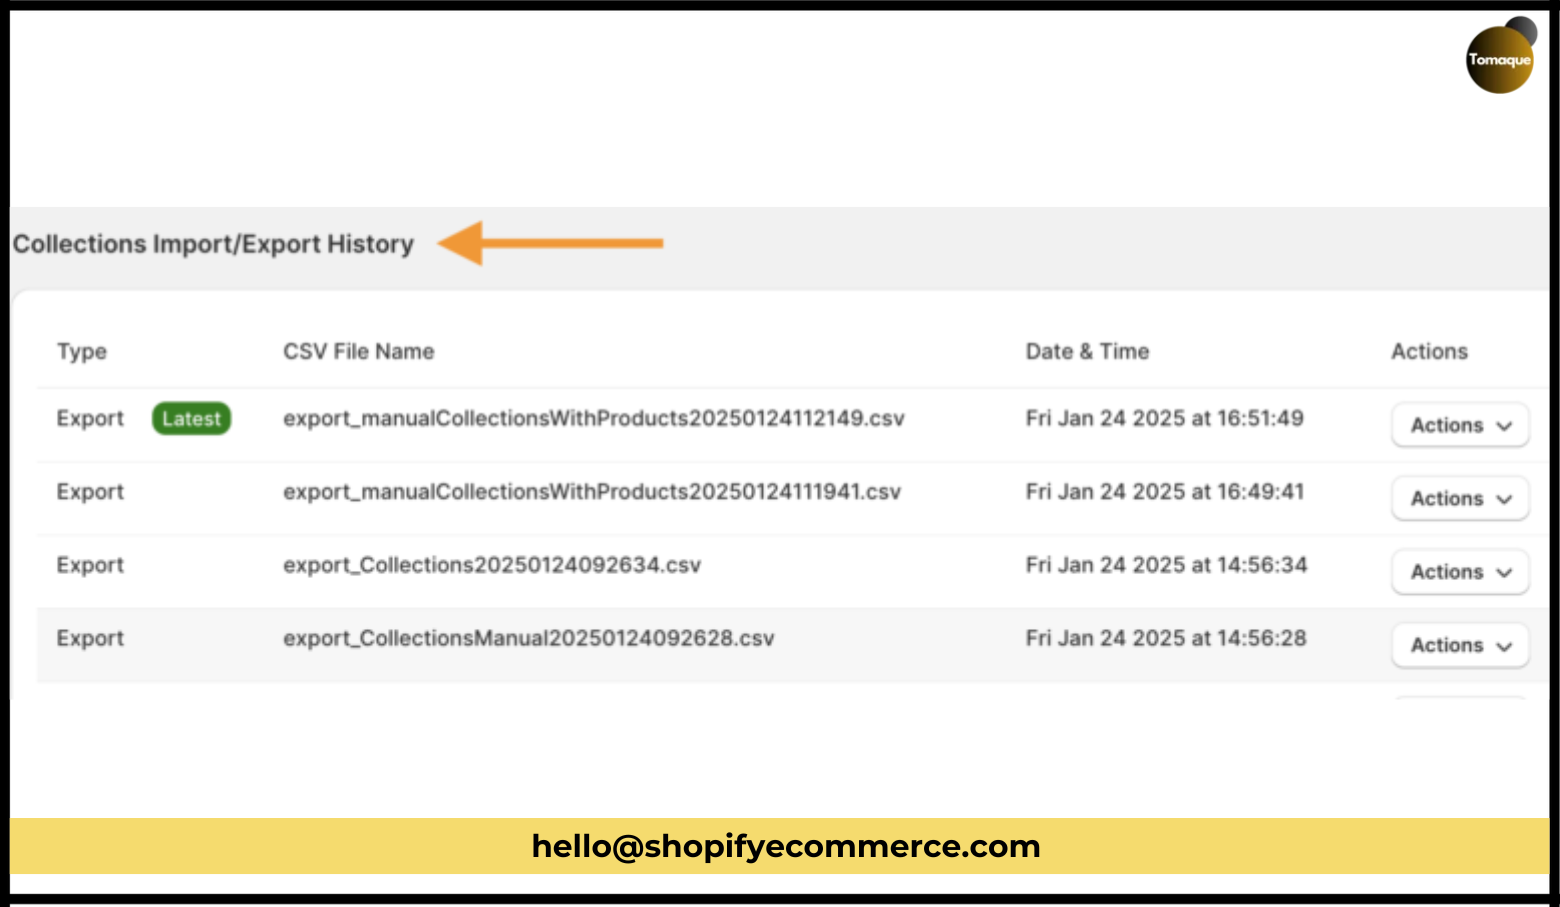
Now, you can see your new collection in the “Collections” tab with all its details. You can also check the history of what you’ve imported or exported in the app dashboard.
Using this app makes it easy to move collections or products from one Shopify store to another without having to add them one by one.
With this tool, you can:
- Export collections easily
- Edit the exported file and bring it back
- Import a new CSV file using a sample format
- Keep track of all your exported/imported files
- Choose specific options when exporting collections
This will save you time so you can focus on other fun parts of your Shopify store!